Yellowstone National Park - 27 Tips for Visiting
When: Monday, June 14 to Tuesday, Jun 22, 2021 (8 nights) (booked in September 2020)
Cost: $726.36 total (approx. $91/night) for full hook-ups
Where: Grizzly RV Park in West Yellowstone, Montana
Bucket List: Yellowstone National Park
In 1872, Yellowstone became America’s first national park. Millions of people come to Yellowstone each year. My family, however, was not one of them. We didn’t really take vacations, and when we did, they were usually just to visit other family in Kansas. I don’t recall visiting a national park until my 40s.
During our nine-day stay near Yellowstone, I kept telling myself how glad I was that I had never been there as a kid. That’s because the place is so beautiful that I could see some version of my younger self dropping out of college to become a park ranger. This wasn’t regret, but more of an acknowledgement about how some life experiences forever change you.
Visiting Yellowstone is indeed a true bucket list experience. There are thousands of videos and blogs on the park and its unique hydrothermal and geologic wonders. Yet, despite watching and reading dozens of those prior to visiting the park, Yellowstone surprisingly over-delivered. In our videos, we try to highlight the features that really stood out. That is HARD because, frankly, the whole place is simply amazing. We also provide some tips for first-time visitors based on our experience. Put another way, we share some of our mistakes so hopefully you don’t make the same ones :-).
To learn more, Watch These Videos!
Our videos cover Yellowstone by breaking it up into three geographical areas.
Part 1: Southwest portion (Old Faithful, Grand Prismatic, Fairy Falls, etc)
Part 2: Northwest portion (Gibbons Falls, Norris Geyser Basin, Mammoth Hot Springs, etc)
Part 3: Eastern portion (Grand Canyon of Yellowstone, Lamar Valley, Hayden Valley, West Thumb area)
Tip #1: Stay for a Week if You Can.
There is so much to see and do that we would recommend that visitors plan on staying a week. Yellowstone is 2,219,789 acres (3,468 square miles). The park is larger than either Rhode Island or Delaware. The main roads form a figure eight such that the park is broken up into a 70-mile Upper Loop and 96-mile Lower Loop and a 142-mile Grand Loop. While some people try Yellowstone in a few days, we felt like a week was about the right amount of time to spend there given the size and numerous attractions.
Tip #2: Make Reservations Early (especially if You Want/Need Full Hook-Ups).
Unless you have a big solar bank, RVers spending a week or so there will want to splurge for full hook-ups (or at least electric) for their rig. Of all of the camping options in the park (Bridge Bay, Canyon, Fishing Bridge, Grant Village, Madison, Mammoth, Norris, Pebble Creek, Slough Creek, Indian Creek, Tower Fall, Lewis Lake), only Fishing Bridge has electric hook-ups (310 full hook-up sites). It was closed during our stay in 2021, but the National Parks Service (“NPS”) website indicated that the rates were $79/night. That meant that we were going to have to stay outside of the park itself.
We booked our RV site eight months in advance, and felt like we were lucky to find something. RV options fill up quickly so book early.
Tip # 3: Stay on the West Side if it is Your First Time Visiting (West Yellowstone).
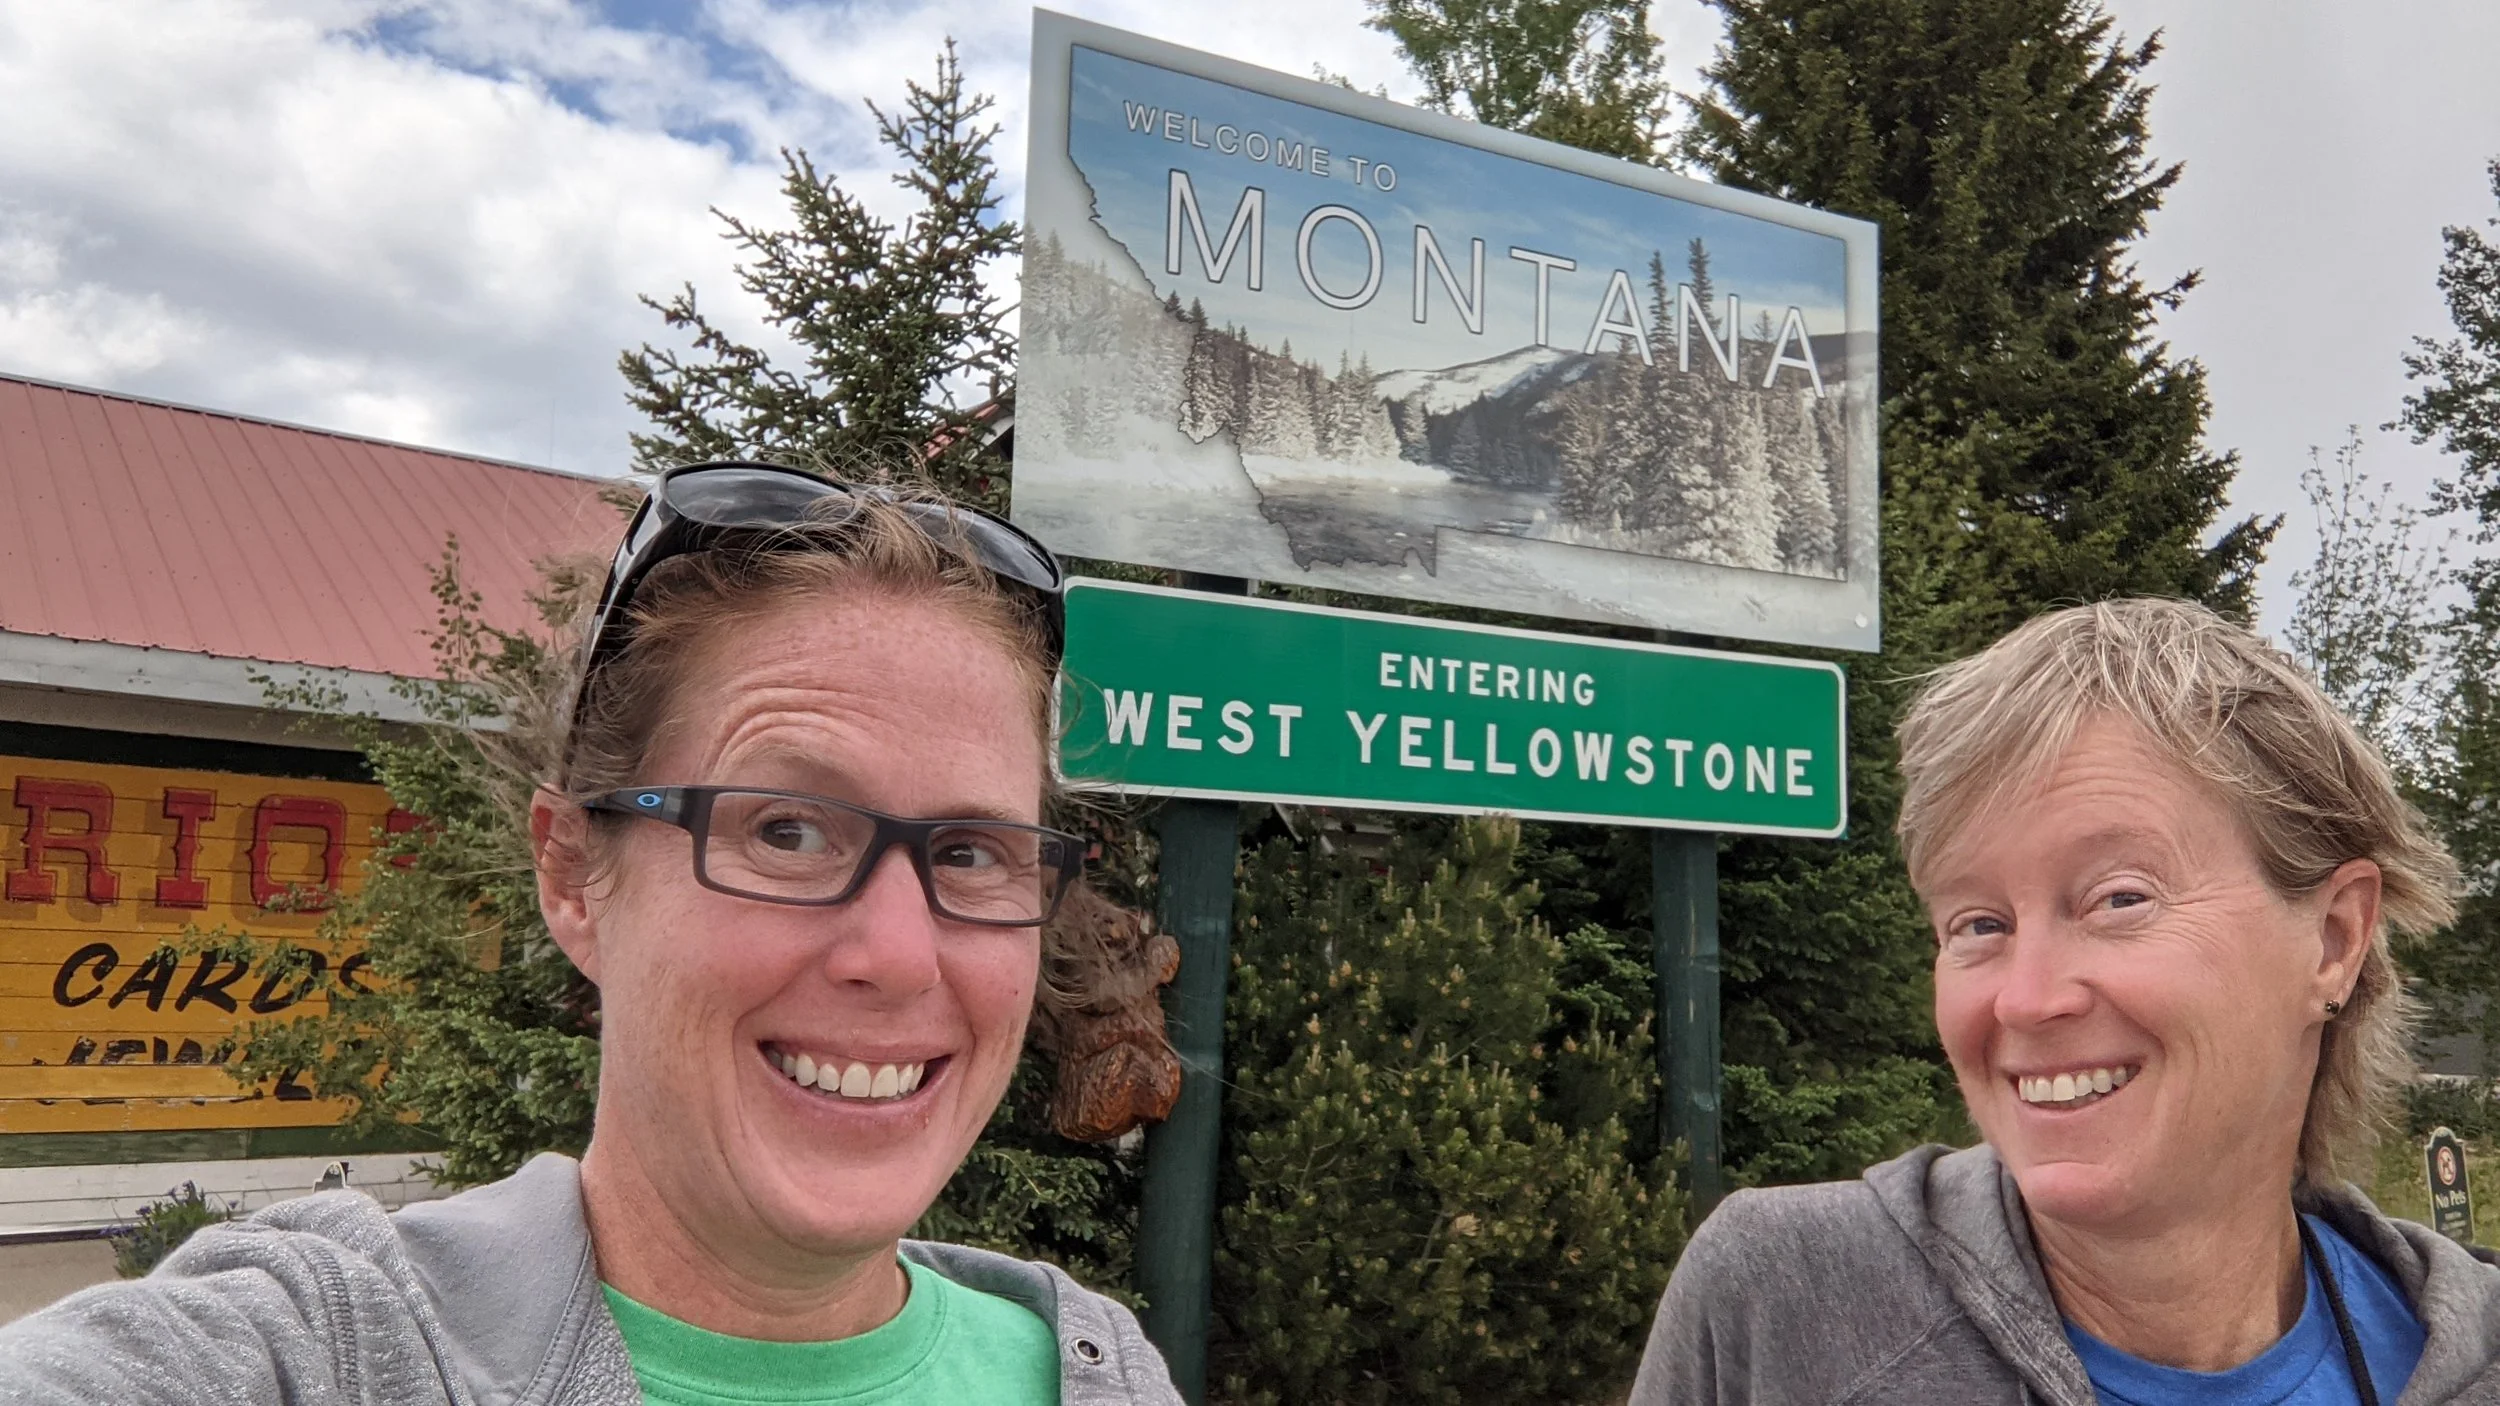
Tip for First-Time Visitors: Stay in West Yellowstone
Many of the park’s popular areas are located on the west side, and as a result, we thought it would be best to stay in that general area. Because our plan was to spend a week visiting Yellowstone, we needed a place with full hook-ups for our RV. With those parameters in mind, we chose Grizzly RV Park located in West Yellowstone just across the state line in Montana. The campground also has cute little cabins in case you are traveling without an RV and need more traditional accommodations.
Grizzly RV Park’s amenities include a convenience store and gift shop, conference room, laundry room, and restrooms with showers. The location is the best part about Grizzly RV park. Sure, West Yellowstone is a very touristy area, but the reality is that everything in Yellowstone has a touristy vibe. The town’s restaurants, two main grocery stores, and numerous souvenir shops are all within a few blocks. Likewise, the entrance to Yellowstone National Park is just four blocks away.
The price at Grizzly RV was competitive. Most places charge at least $100/night so at $91/night, the prices at Grizzly RV Park seemed reasonable. We were able to book online months in advance so that was another reason why we liked Grizzly RV Park. We would stay there again.
Tip #4: Be an Early Bird (but not TOO early).
The car line to the west entrance of Yellowstone starts early. Our plan of attack was to get up no later than 5 am to beat the crowds. Once we entered the park, it was still about 14 miles (25-30 minutes) before we could turn onto the Grand Loop at Madison Campground. Many of Yellowstone’s major attractions (like Old Faithful, the Grand Prismatic Spring, Norris Geyser Basin, and Mammoth Hot Springs) are located on the western side of the park. Yet, those are still at least an hour or more away from the park’s west entrance.

Yellowstone Tip: Visit Grand Prismatic Spring Overlook mid-day (not too early)
Because we were getting up so early, we were usually had our daily park itinerary completed by around noon. We soon learned that the earlier we left the park, the better. By 10 am, the crowds in many areas made parking very difficult. In addition, the throngs of tourists yammering and taking photos at every turn really detracted from the beautiful surroundings. We tried visiting the Old Faithful region around 11 am one day, and actually left because there were just too many people.
One downside to our early bird approach to visiting Yellowstone involved our (in)ability to see the hydrothermal features. On one morning in particular, we hiked the Fairy Falls Trail (about 4.8 miles out-and-back) to Fairy Falls. The trail goes right by the Grand Prismatic Spring Overlook about 0.6 miles into the hike. Unfortunately, the morning fog coming from the majestic spring made it virtually impossible to see on both our trek to and from Fairy Falls. We had to go back to the Grand Prismatic Spring Overlook on a different day (mid-day) to see it in all of its grandeur.
Tip #5: Enjoy “Happy Hour.”
On our first day in the area, we had our RV set up completed by mid-afternoon. We ventured into the park even though we had only 3-4 hours of daylight left. As we were driving back after dusk on Highway 20, we had our first up-close wildlife encounter with a herd of bison in the road. We were beyond giddy as a baby and mama buffalo sauntered in front and right beside our Jeep. This would be the first of many Buffalo Jams.
We soon learned that in addition to getting up super early, another good way to see the park is to go back out in the late afternoon. We found that between 4 pm to dusk, most families were back at hotels or campsites with their worn-out kids. That “happy hour” was prime time to see the geothermal features and also spot wildlife!
Tip #6: Take Naps!
This tip is probably not for everyone. In the end, our schedule followed the pattern of (1) getting up super early to beat the crowds, (2) coming back to the RV to have a late lunch and usually a nap, and (3) if we were feeling up to it, venturing back out to the park after 4 pm. If you have children with you, this sort of schedule probably won’t work for you. However, we found that it worked well for us.
Tip #7: Visit Old Faithful Inn Deck During Happy Hour (with Beer!)
“Happy Hour” is also the best time to see Old Faithful erupt. As noted above, the crowds in that area of the park are ridiculous. We debated even going to Old Faithful after unsuccessfully going to the area mid-day. Yet, how could we say that we had been to Yellowstone National Park if we didn’t go to the one place that everyone associates with the park? Thus, on one day, we decided to stay out late (around 6:00 pm!) and hunkered down at the Old Faithful Inn’s deck while we drank a few beers and waited for the predictable eruption. THIS IS THE BEST WAY TO EXPERIENCE OLD FAITHFUL!
Tip #8: Look for Traffic Jams! That Probably Means Wildlife!

Do Not Approach Wildlife Sign Near Fountain Flat Drive in Yellowstone National Park
After that first evening’s Buffalo Jam, we actually got a little excited when traffic would slow to a halt during our drive around the Grand Loop. Sure, sometimes that meant we might have to spend 15-20 minutes extra in the car. Yet, that usually meant a good wildlife encounter was causing the traffic jam. Indeed, we saw lots of buffalo, antelope, and a few bears from the road.
People often say that the best places to spot wildlife are in Hayden Valley and Lamar Valley. We agree. Yet, Lamar Valley is at least 2.5 hours away from West Yellowstone so that meant getting up at around 3 am so that we would be there in the first few hours after dawn when wildlife is supposed to be easier to spot. There isn’t much traffic at that time of day. However, we learned to look for the caravans of commercial wildlife tour groups. Admittedly, we sometimes needed expensive telescopes to view what they were seeing. Nonetheless, we saw enough with the 20x zoom on our camcorder to make our hunt exciting and fun!
Tip #9: Be Patient.
Yes, you are going to get into traffic jams. Yes, sometimes you will have to wait to take a photo because a popular place is crowded. But just be patient. It is totally worth the wait.
Tip #10: Designate a Non-Driver Photographer/Videographer.
It’s easy for the driver to get excited and want to take photos or videos if there’s a roadside wildlife encounter. Unless the vehicle is at a full stop, avoid that temptation for obvious safety reasons. Because we never knew exactly when we might see something photo-worthy, Lana made sure she had a charged camera and camcorder ready to take photos. If the photogenic object was on the driver’s side of the vehicle, we had the perfect solution. We just opened up the Jeep’s sunroof, and Lana popped up through it to get an unobstructed photo/video.
Tip #11: Save Your Camera/Video Storage at the Beginning.
After setting up our RV on our first day in the area, we still had some time to go into the park on a late afternoon. After turning north from the Madison junction, the first hydrothermal feature we encountered was Beryl Spring. Yay! We were so excited that we filled the GoPro with nearly 50 GB of footage filming Beryl Spring! Now, don’t get me wrong, Beryl Spring is pretty neat. BUT, little did we know just how many springs, pools, geysers, and other wonders we would encounter. Later, we would joke each time we drove by Beryl Spring about how silly we were to “waste” that much storage on a single spring.
Tip #12: Label as You Go.
Trust me, you are going to take A LOT of photos and/or videos at Yellowstone National Park. Even if you have geotagging enabled on your camera or phone, at some point, you won’t know what is what unless you label them as you go. One blue pool is going to look very similar to another one. And even photos of the Grand Canyon of Yellowstone will start to run together. For example, most people think that Thomas Moran’s famous painting is from Artist Point. It was actually across the river at Lookout Point. It’s easy to get similar vantages confused.
Our tip is to download your photos and label/organize them somehow each day while the information about what you saw is fresh in your mind. For videos, we try to either film a sign of what we are looking at in the clip and/or say what we are filming at the beginning of the clip.
Tip #13: Watch Your Hat!
I can’t tell you how many times a beautiful thermal feature was marred by a lost hat that had landed in the middle of it. While I love wearing my ball caps and visors, I learned to leave them at home.
Curious how those hats get retrieved? We observed a park ranger with a fishing pole reeling one in.
Tip #14: Plan a True Nature Hike for Exercise.

South Rim Trail in Yellowstone National Park with Chittenden Bridge in the Background
Plan on spending a lot of time DRIVING (not walking) when visiting Yellowstone. We added around 984 miles on our Jeep during our stay. That is a lot of time spent in the car.
Most of the geothermal features (Mammoth Hot Springs, Norris Geyser Basin, Lower Geyser Basin, Midway Geyser Basin, Upper Geyser Basin, and West Thumb Geyser Basin) have various paved trails or boardwalks. While we got some steps in visiting those places, our pace was slow because we were taking it all in and/or fighting the crowds. Thus, for real exercise, I’d recommend planning a true nature hike when in the area. The ones we hiked included:
Fairly Falls Trail is a 5-mile hike (2.5 each way) that includes a chance to see the Grand Prismatic Spring from an overlook (just don’t go too early or it will steamy) and a pretty spectacular waterfall. It’s a popular hike, but we went early in the day, and saw just a couple of other hikers.
South Rim Trail by the Yellowstone River from the Uncle Tom’s area south about 1.0 miles to the road. We only saw a handful of other hikers. There are a variety of trails near the Upper and Lower Falls near Canyon Village.
There are tons of other trails in the area, and the NPS mobile app includes a list of all the trails with maps and the estimated hike duration. Speaking of which….
Tip #15: Download the National Parks Service Mobile App and Yellowstone Maps.

National Parks Service Mobile App — Yellowstone Home Page and Map Example
Internet is non-existent except for the regions near some of the visitor centers. While paper maps are available at the park entrances, you will want to be sure to download the NPS mobile app for Yellowstone. The digital map is A LOT more detailed than the paper map, and is filled with all sorts of other interesting information, like amenities, park news, and hiking trails. I enjoyed reading about how the various geysers got their names. I’d love to have that job.
Here’s a link to the apps on the NPS website.
Tip #16: Don’t Confuse Similar Sounding Names
Firehole Lake Drive is different than Firehole Canyon Drive. And there’s both Fountain Geyser and Fountain Paint Pots. Opal Pool vs. Opalescent Pool. That’s another reason why the mobile app and the map are so great!
Tip #17: Stop and Smell and See Whatever: Pull Over at the Pull-Outs.
While it’s easy to focus on the day’s destinations and follow a general itinerary, don’t be afraid to just pull your vehicle over at the hundreds of pull-outs throughout the park. A larger pull-out area probably means there is something worth seeing, even if you don’t immediately see or missed the signs for what is there. We had a pretty funny bear sighting at a pull-out on Firehole Canyon Drive. The NPS mobile app map will show many of these options for additional stops.
Tip #18: “Lower” is above “Upper.”
“Upper Geyser Basin” is south of “Lower Geyser Basin.” Likewise, the “Lower Falls” are above the “Upper Falls.” That was very confusing to me until I figured out that the names are based how the nearby rivers flow. Firehole River flows northward as does Yellowstone River.
Tip #19: Don’t Go Chasing Waterfalls.
Yellowstone has LOTS of waterfalls. Indeed, Gibbon Falls is the first main stop you will see as you head north from the Madison Junction so it was the first attraction that we actually saw on our first day. Many are accessible from the road, while others require a hike. While we were not able to see all of them, some options include Undine Falls, Firehole Falls, Rustic Falls, Wraith Falls, (0.9-mile out-and-back hike), Fairy Falls (2.5-mile out-and-back hike), Tower Falls (closed in summer 2021 when we visited), Osprey Falls (9.9-mile out-and-back hike), Mystic Falls (2.4-mile out-and-back hike), Cave Falls, Terraced Falls (3.7 mile out-and-back hike), Union Falls (5.8-mile out-and-back), and Upper and Lower Falls on the Yellowstone River.
Tip #20: Check Websites for Geyser Time Eruptions.
The NPS off-line maps won’t have current geyser eruption predictions. The Old Faith Visitor Education Center will have predictions for some geysers. However, the NPS Website also conveniently provides predictions for geyser eruptions so make sure and check that each day before you head out to the park. Geyser Times also contains predictions, and I’d recommend looking at both websites to make sure you don’t miss the one you want to see. Geyser times also has a mobile app for both Android and iOS.

Yellowstone Geyser Predictions at the Visitor’s Center. This information is more conveniently located on-line as well.
Tip #21: Make Time for the Visitor Centers.
While Visitor Centers are usually pretty crowded, they usually have some interesting information about the park that you may not find online. And, there is nothing like being able to ask a question to a park ranger or other live human. During our trip, Covid-19 meant that many of the Yellowstone’s Visitor Centers were closed or partially closed.
Tip #22: Layer Your Clothes.
Even if you are visiting Yellowstone in the summer, pack some sweats and hoodies. It’s chilly in the mornings and evenings, even in the summer. In the daytime, we experienced highs in the 80s so it was t-shirt and shorts weather part of the day too.
Tip #23: Don’t Forget the Outdoor Essentials.
Before you leave your home base each day, make sure you bring sunscreen, lotion, chapstick, bug spray and bear spray. And equally important, don’t leave the stuff in the car when you most need it (e.g., bear spray).
Lastly, wear comfortable shoes. You are going to be doing A LOT of walking.
Tip #24: Pack a Lunch and Bring Snacks.
While there are a handful of restaurants scattered throughout the park, those places are going to busy. And, you are probably going to get hungry when you aren’t even near something. It’s best to pack a lunch (or at a minimum bring some snacks). I thoroughly enjoyed the excuse to make PB&J and eat Lance crackers.
Tip #25: Don’t Fret About Closures.
During our trip in the summer of 2021, the road between Canyon Junction and Tower-Roosevelt was closed. That meant we couldn’t see Tower Falls. Given the numerous other waterfalls in the area (see Tip #17 above), that really was not a big deal. Likewise, while the stairs on Uncle Tom’s trail (just off the South Rim Trail) were closed so that we could not see Lower Falls from that vantage, we still got spectacular views of the waterfall elsewhere (Brink of Lower Falls, Lookout Point, Grant View, etc). If you “miss” something, there is usually something just as good (or better!) around the corner.
Tip #26: Read the Paper.
At the entrance to the park, the ranger will likely hand you a newspaper, and we read 80% of its 16 pages. The newspaper is a handy quick-reference tool to use with maps of some of the more popular areas. It also contains information on planned closures.
Tip #27: Get a National Parks Pass.
For folks visiting Yellowstone National Park, the weekly fee is $35/week. Thus, people visiting multiple national parks (like nearby Grand Teton National Park), the America the Beautiful Parks Pass for $80 is a more cost-effective option. The pass covers entrance fees at national parks and national wildlife refuges as well as standard amenity fees (day use fees) at national forests and grasslands, and at lands managed by the Bureau of Land Management, Bureau of Reclamation and U.S. Army Corps of Engineers. Discounts are available for seniors, and military/veterans are free!