
How to Winterize Your RV
There are two basic methods to winterize an RV: (1) the Compressed Air Method and (2) the Antifreeze Method. In this blog and video, we will explain how we to do both for our RV (2019 Jayco Greyhawk 31F). While the general process is the same for most RVs, you should consult with your owner’s manual or a professional about your specific rig.
Put another way: We are not RV experts. We are RVers sharing our experiences on the road. Please do your own research and make your own decisions as to what is best for you and your RV.
Basic Steps for both RV Winterization Methods:
1. Drain the gray water tank and black water tank.
2. Open all of the low point drains. In our RV, there are three of them located close to the wet bay area.
3. Empty the water heater. In our RV, we access a valve from the RV’s exterior. Importantly, drain the water heater when the water is hot or under pressure. Most RVs come with a pressure relief valve.
4. Bypass the water heater. In our RV, there three valves located underneath the refrigerator that must be switched to bypass the water heater.
5. Remove any inline water filters and empty the water filter canister, then replace. Our RV came with a special wrench to make removing the canister easier.
6. Open all the fixtures (faucets and toilets) allow all excess water to drain.
7. Turn on the pump to remove water from the pump.


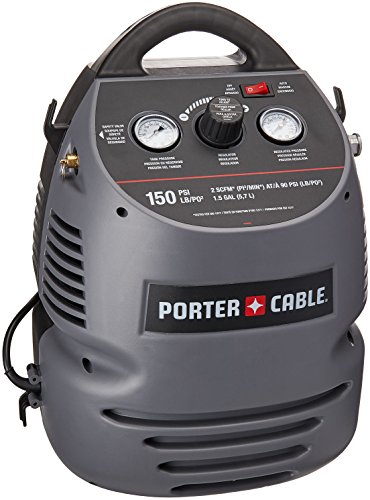
Additional Basic Steps for the Compressed Air RV Winterization Method
8. With all plumbing fixtures closed, connect a blow-out adapter to the RV’s city water inlet.
9. Adjust the air compressor to a pressure of about 30 psi. Avoid pressures higher than 40 psi as that may cause damages to the RV’s plumbing system.
10. Open each plumbing fixture one at a time (remember both hot and cold valves) to let the air displace any remaining water in each line. This usually takes around 10-15 seconds. In general, place your hand under the fixture until you no longer feel any mist/spray.
11. Turn off the compressor and disconnect the blow-out adapter. Open a faucet to relieve any residual pressure in the lines.
Additional Basic Steps for the Antifreeze RV Winterization Method

Make sure you buy the pink stuff!
8. Our RV comes with a back-flow check valve screen on the city water connection. The pump is usually too weak to overpower the valve to pull the antifreeze in. Therefore, the screen should be turned around so that the tip faces inward. A set of needle-nosed pliers works well for this step.
9. Turn the water connections to the “winterize” setting (2 and 4 on our RV)
10. Connect a siphon hose to the city water connection.
11. Insert the siphon hose to the bottom of an antifreeze jug
12. Turn on the pump to start siphoning the antifreeze into the system.
13. Open each plumbing fixture one at a time (remember both hot and cold valves) to let the antifreeze displace any remaining water in each line. Begin at the fixture furthest away from the pump (which is the kitchen sink in our RV), and don’t forget the outside shower. Pink antifreeze should flow from each fixture
14. Turn the pump off and disconnect the siphon hose.
15. Reverse Step 8 so that the tip of the check valve screen faces outward.
Final Steps for Both RV Winterization Methods
Pour RV antifreeze into each fixture drain (sink, shower, and toilet) so that the drain p-traps are full. Usually, this is around 1-2 cups of antifreeze.
Other Things to Check As Part of the RV Winterization Process
a. Turn off the water heater.
b. Turn off the propane.
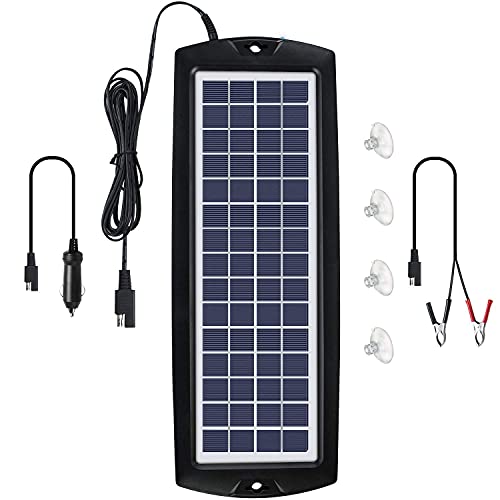
c. Address your battery. Either disconnect the battery, add a trickle charger to the battery, or leave the RV connected to shore power. We typically leave our RV plugged in, but the trickle charger below is a good alternative. The one shown here looks like a good one, but admittedly, we don’t own it so cannot vouch for it.
d. Remove all food and drink from the RV. Otherwise, that might attract rodents/pests and/or freeze. No one want exploding soda in their RV.
This list is not meant to be exhaustive, and we welcome feedback on other important items to include!